Let me tell you a little secret when I was studying to be a chef, every Friday was about preparing for the weekend. Now we used to get divided up into groups to sort out the different sections, and on this occasion I was put into a group with the two lovely boys, Scott & Peter to make the desserts.
Now the day before we were learning different sponge cakes and we had to make a Geniose sponge cake, and I must have tried it about 6 times and every time it sunk in the middle and I just couldn’t get it right by the end of the day I was feeling pretty deflated and knowing me was probably a little tearful!
So when I was told to make the Geniose on the Friday morning, I thought it was some kind of cruel joke and I wasn’t laughing…nope I looked at the equipment and ingredients in dread, but I conquered and baked some beautiful sponges!
Now this introduction is important because exactly the same thing happened to me the first time I made Red Velvet Cake, and the second time and I think the 3rd time…to the point I was going to get my sister to make the RVC if anyone wanted one or I just wouldn’t offer it!
The more consults I had the more I realised my clients love Red Velvet Cake so I had no choice but to get it right!
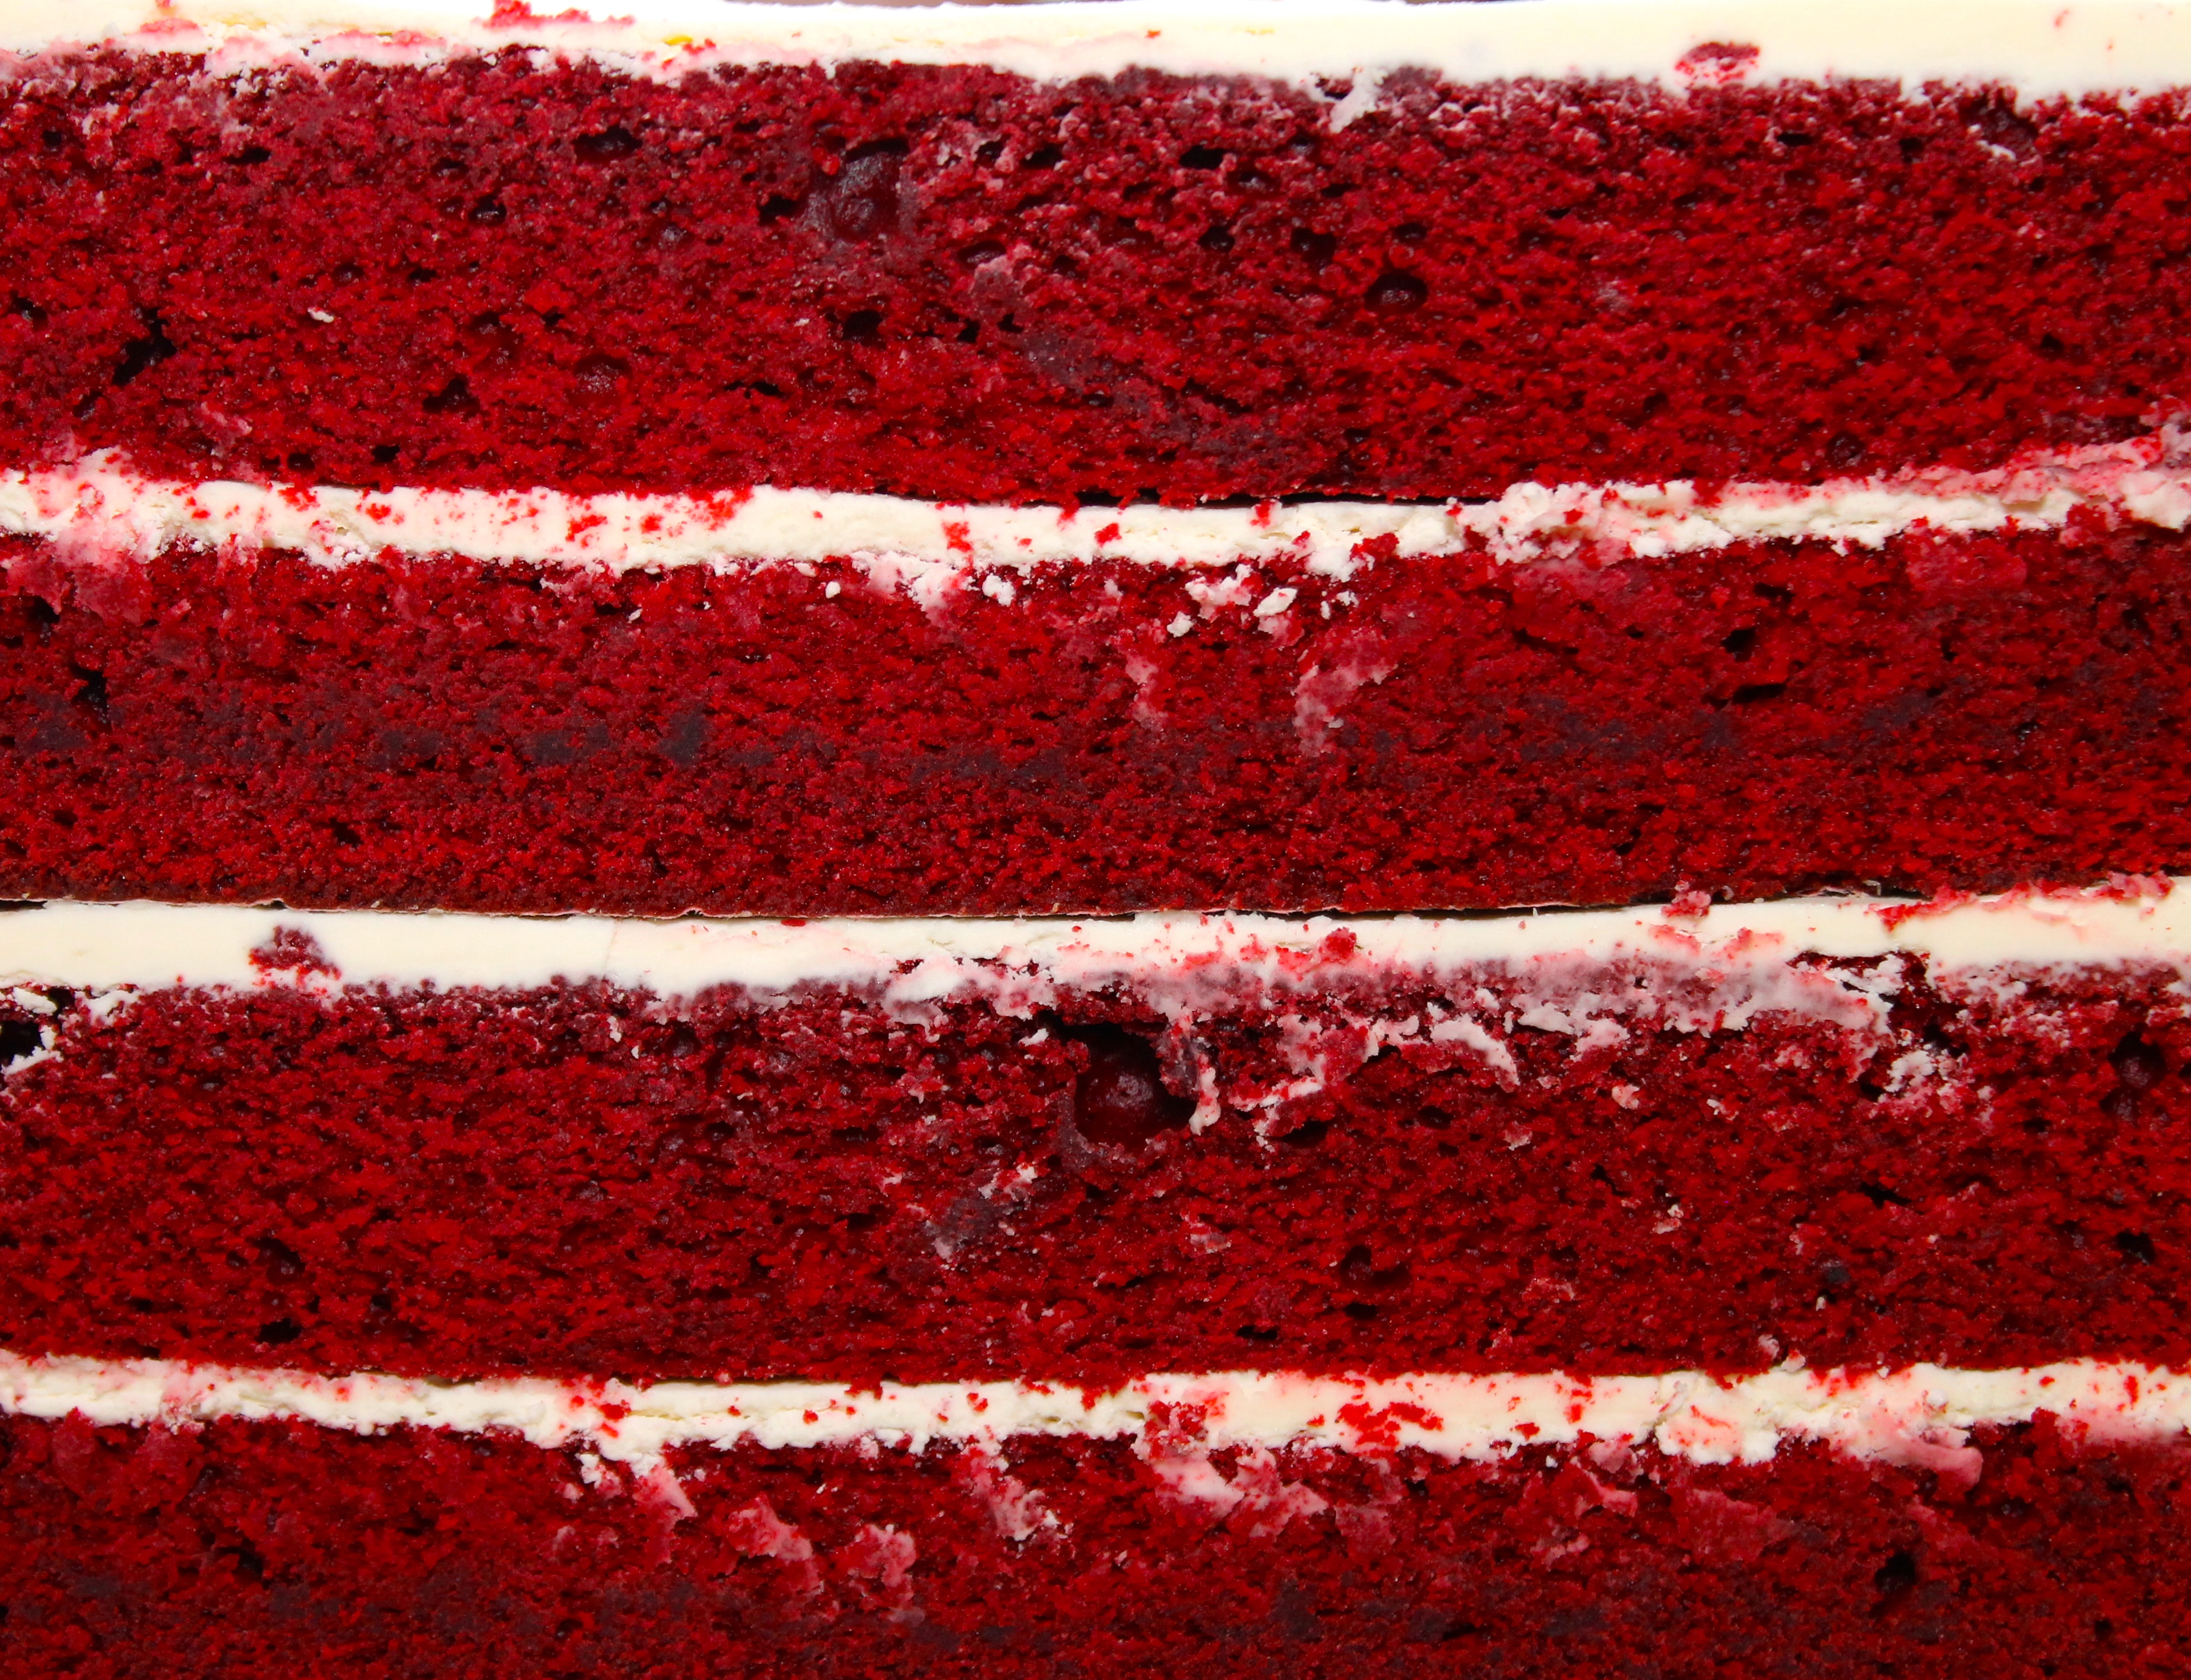
So here is my Red Velvet cake, with a couple of tips and the Recipe is from
The Hummingbird Bakery Cookbook
120g unsalted butter at room temperature
300g caster sugar
2 eggs
20g cocoa powder
4 tbsp red food colouring (I found that 40g of Dr Oetker Gel Food Colouring in Bright Red worked well)
1 tsp vanilla extract
240ml buttermilk
300g plain flour
1 tsp salt
1 tsp bicarbonate of soda
3 tsp white wine vinegar
Preheat oven to 170 deg C / 325 deg F (150 deg C fan assisted). The recipe suggests using three 20cm cake tins, but I adjust it to the size OF the cake I need.
I have used the Dr Oetker Gel Food Colouring, but found the getting the amount I needed was a bit of a run around to different stores and buying all they had and then getting out of the tubes I always felt I might be wasting and it just took too long to get it out of the tubes.(Time is like gold dust in my world!)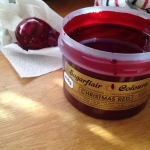
Just make sure that you avoid any ‘natural’ colours(one of the mistakes I made).
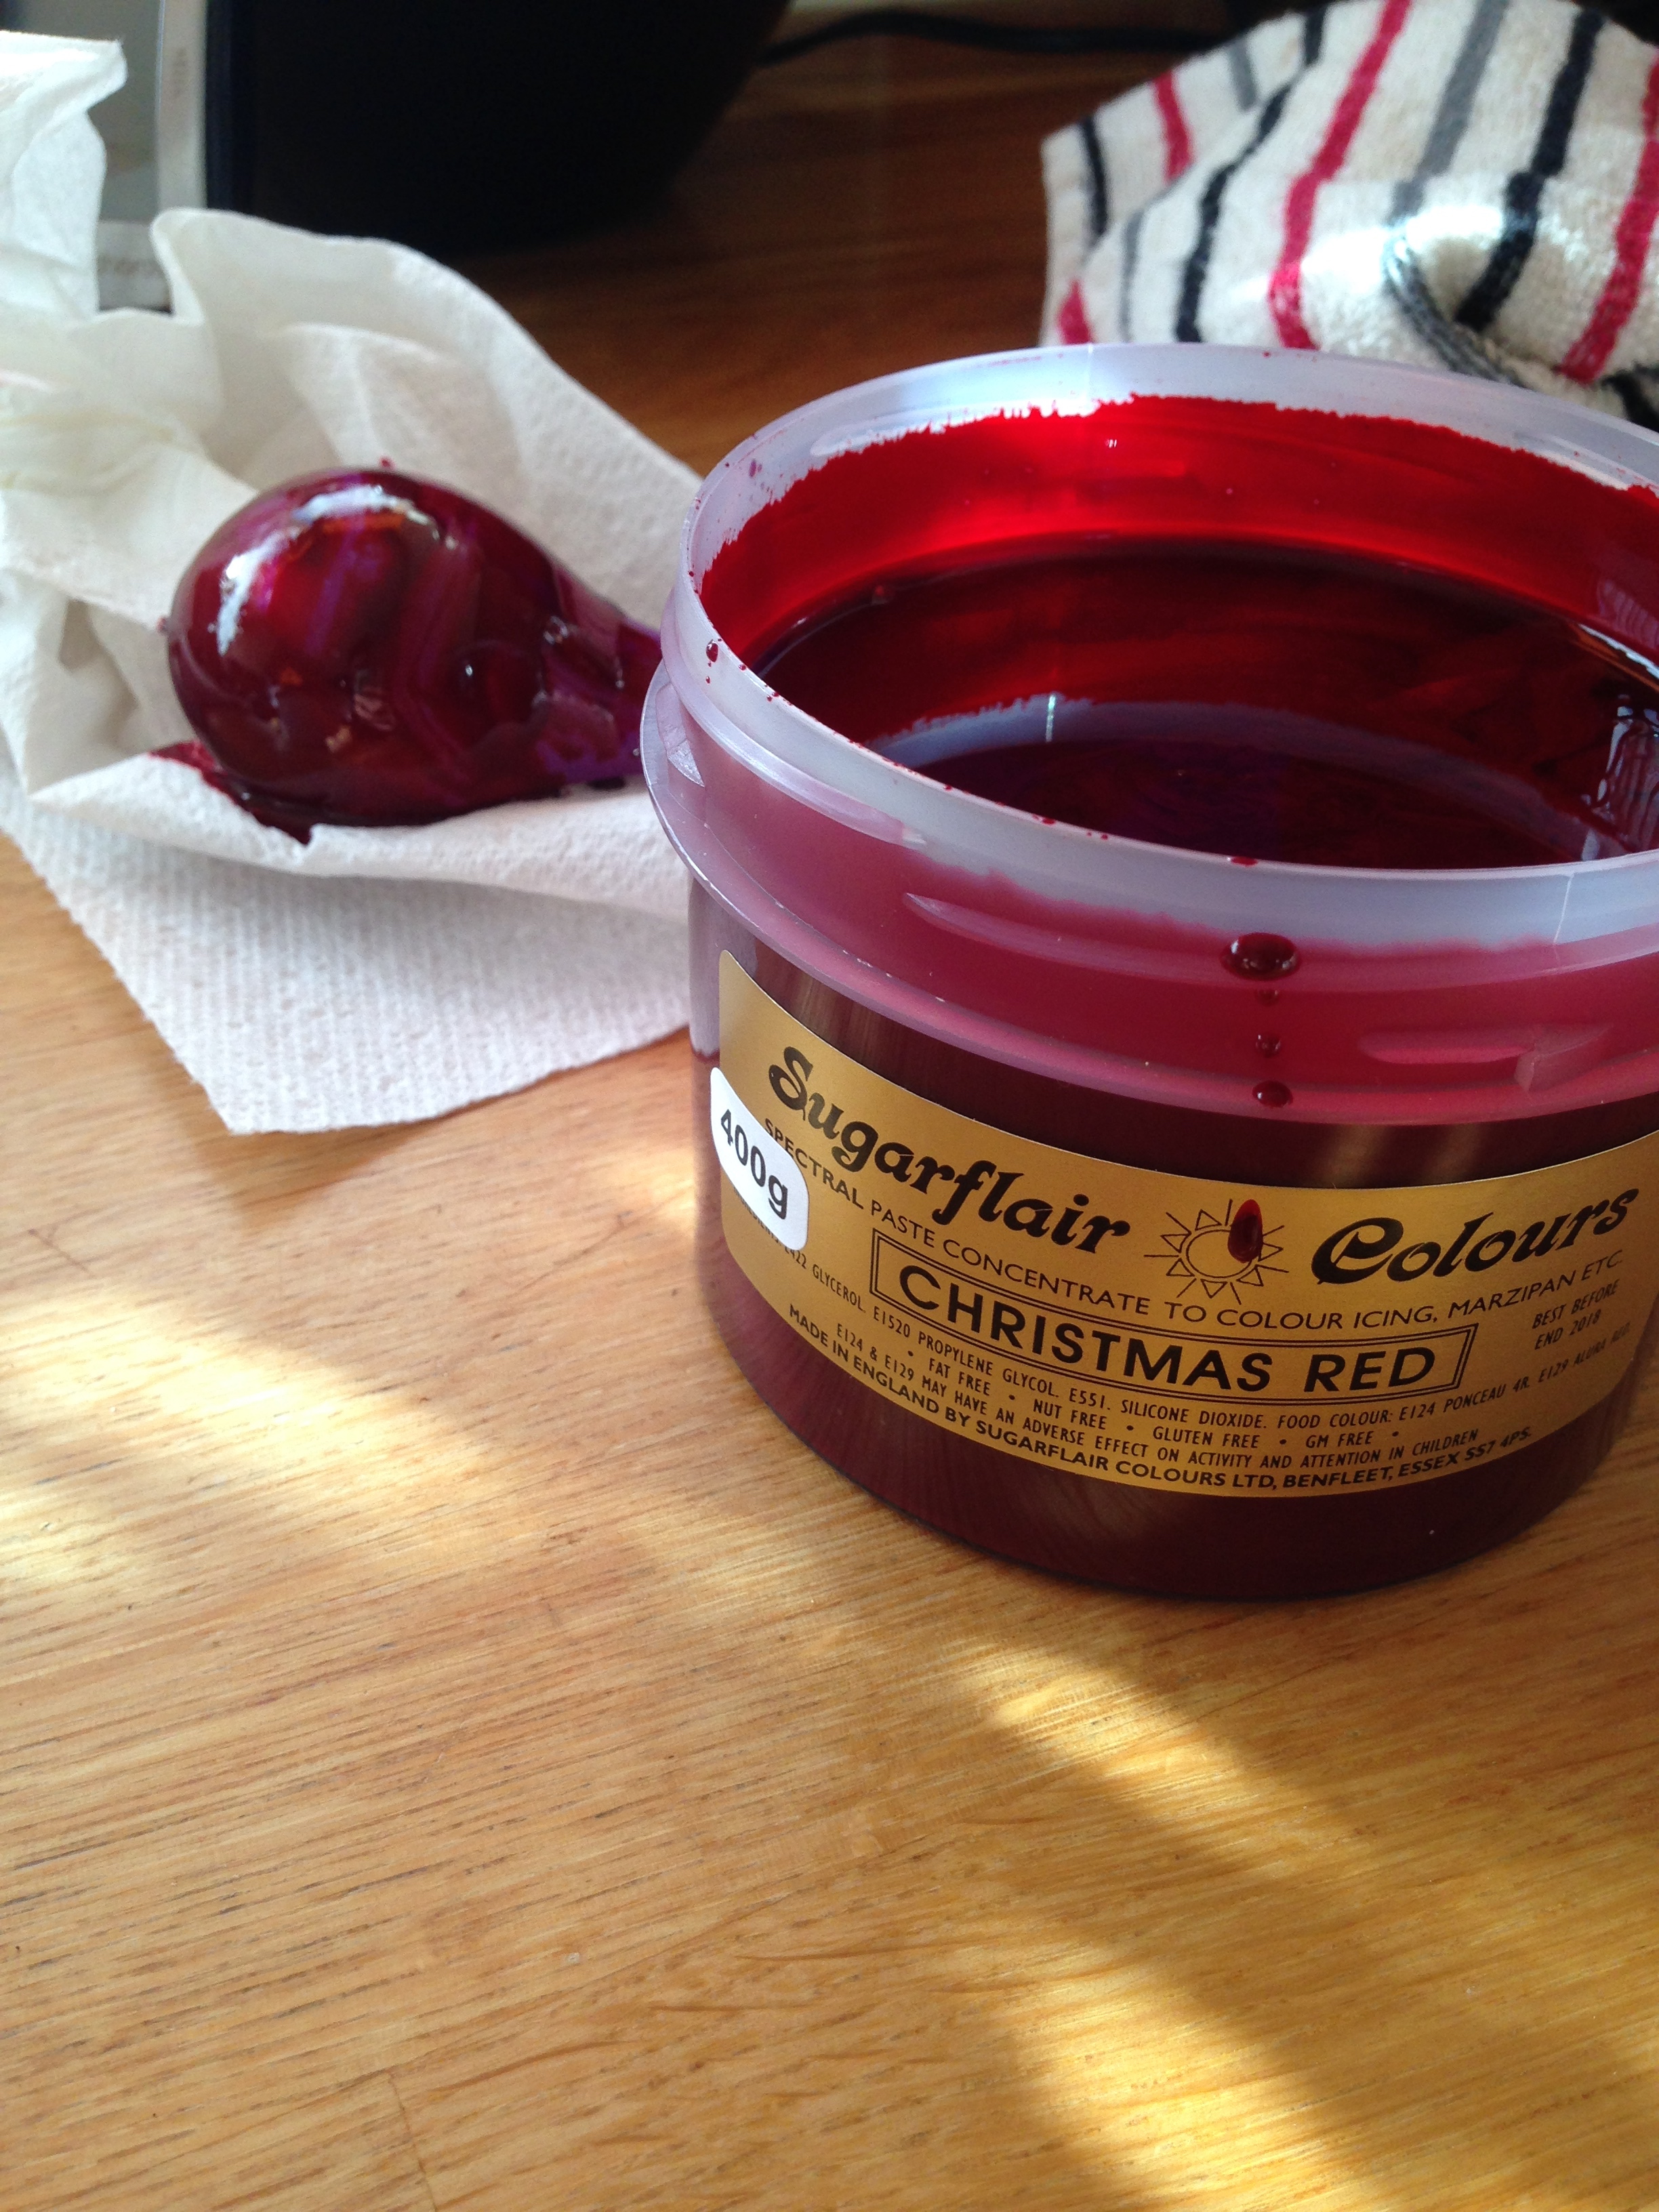
I used SugarFlair, Christmas Red (this was a HUGE jar, but I make quite a lot of these now), the consistency is perfect and I use a little less because the colour is so strong!
The process:
1. Cream together the butter and sugar until pale and fluffy, and then gradually incorporate the eggs.
2 Separately, combine the cocoa, red food colouring and vanilla to form a paste, and combine with the egg mixture.
3.Gradually add the buttermilk and flour, adding a little of each at a time until fully combined.
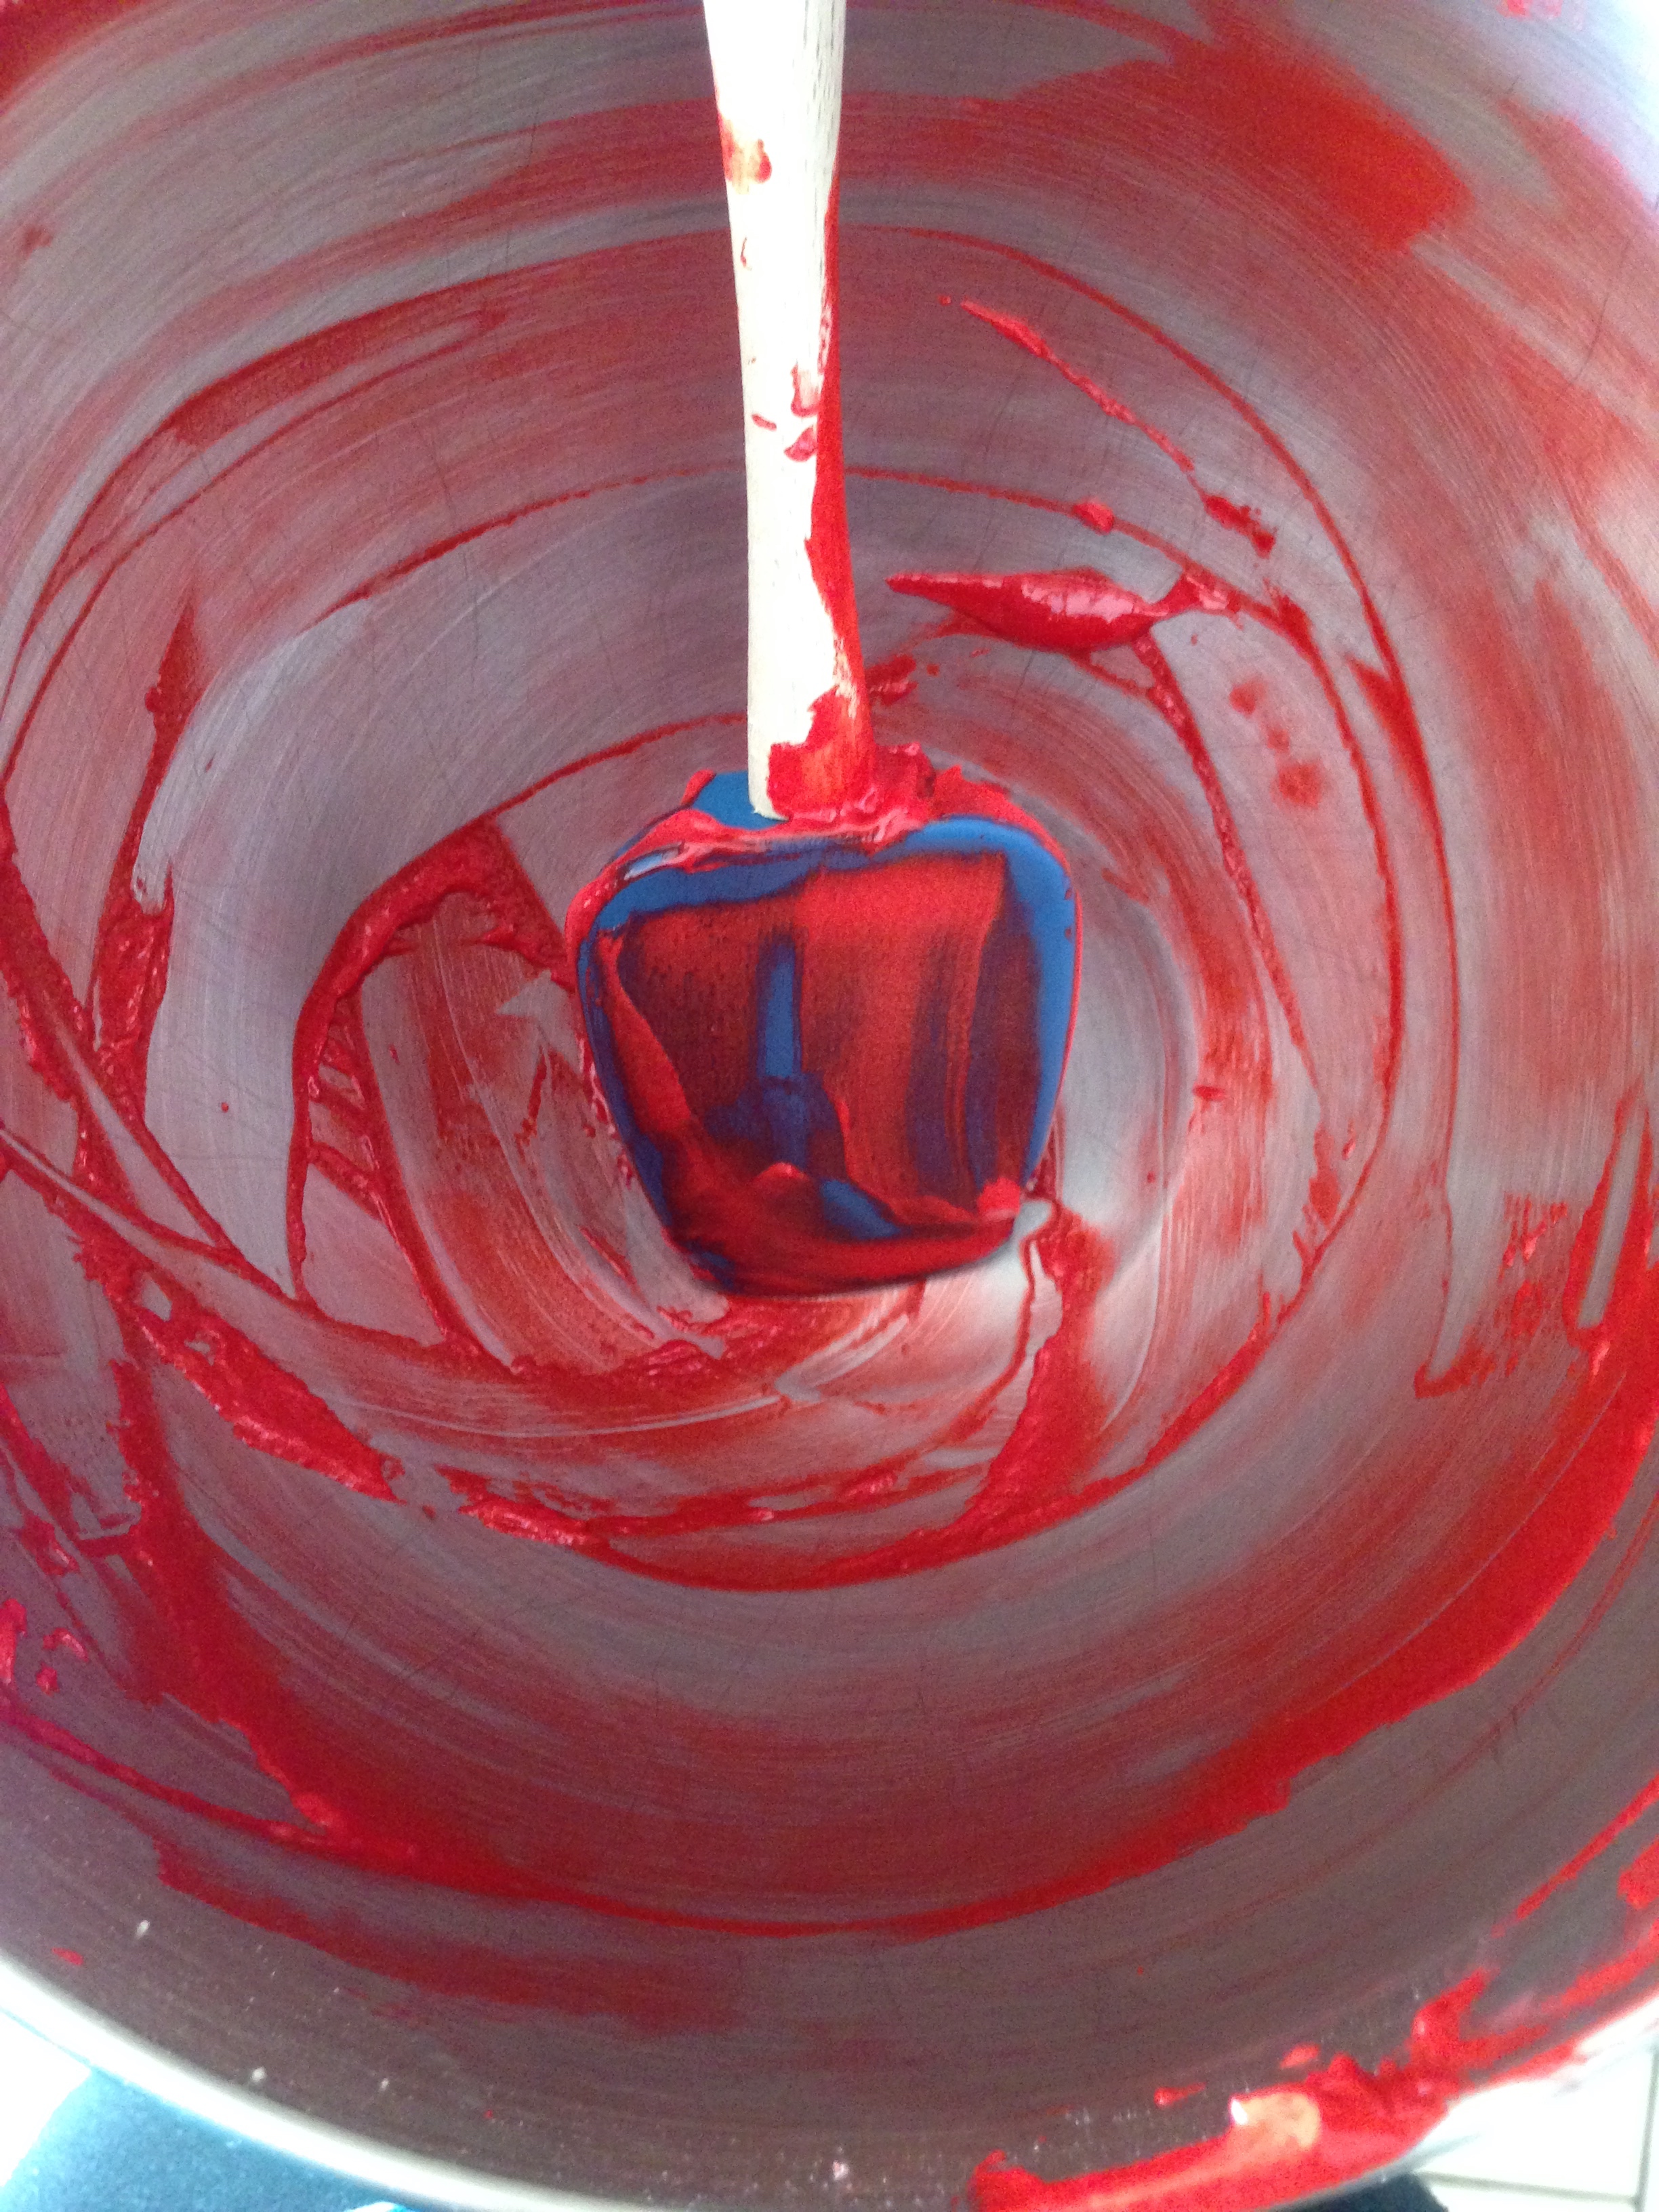
4. Add the salt, bicarbonate of soda and vinegar and ensure all ingredients are well mixed.
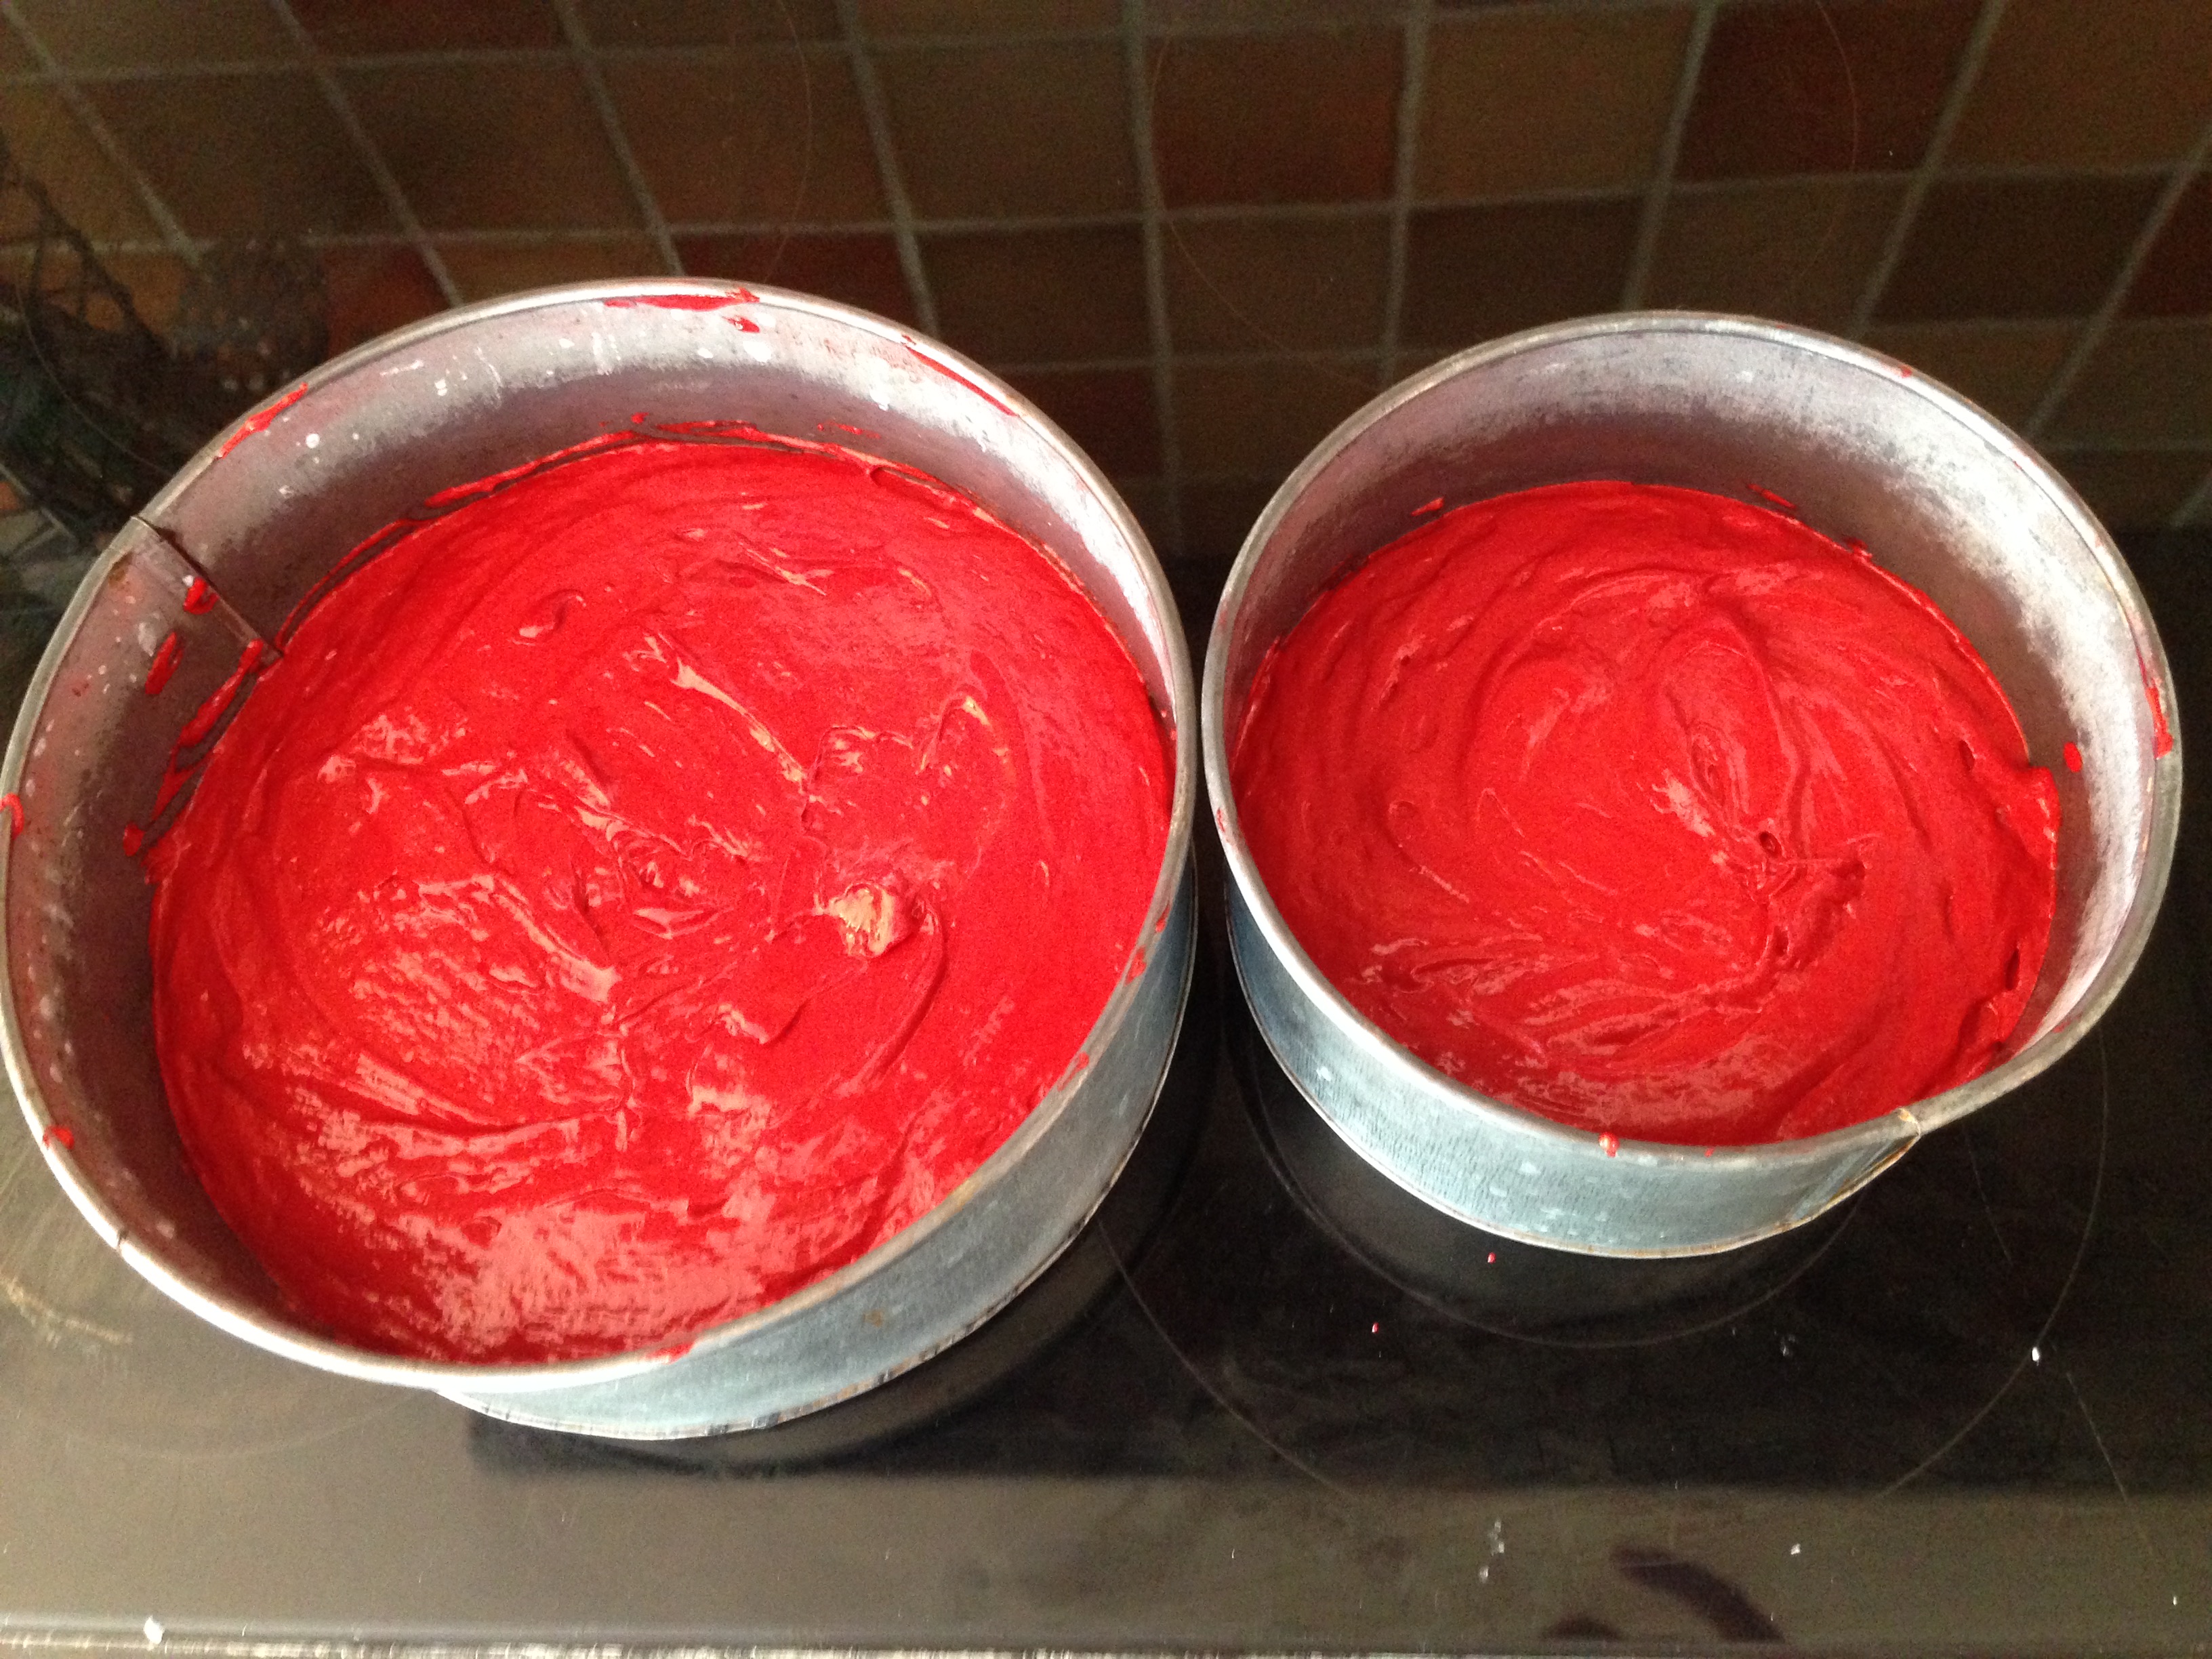
Divide between the cake tins (whether you are using one, two or three), and bake for 20-25 mins in the oven. When I am using one, depending on the height I will bake up to 45 minutes.
Icing:
Because my cakes are served at Ambient temperatures, I don’t use a cream cheese icing, but using a Vanilla Buttercream Icing instead, it tastes just a delicious and a safer alternative!
This is The Hummingbird Vanilla Buttercream
250g icing sugar , sifted
80g unsalted butter, at room temperature
25ml whole milk
2 Drops vanilla extract
Instructions
1 Beat the icing sugar and butter together in a freestanding electric mixer with a paddle attachment (or use a handheld electric whisk) on medium-slow speed until the mixture comes together and is well mixed. Turn the mixer down to slow speed.
2 Combine the milk and vanilla extract in a separate bowl, then add to the butter mixture a couple of tablespoons at a time.
3 Once all the milk has been incorporated, turn the mixer up to high speed. Continue beating until the frosting is light and fluffy, at least 5 minutes.
4 The longer the frosting is beaten, the fluffier and lighter it becomes.
So in conclusion if I was to ever give any advice, I would say don’t give up and keep trying till you get it right even if there are tears.
Happy baking!
Chalming Wishes
Sonia xx

How much sugarflair paste did you use and do you mix the paste with water? Thank you!
Hi Jen, Because I found the paste quite concentrated I now do 20g sugarflair paste and then 20g of water, mixed with the cocoa powder and vanilla, then make a smooth paste out of that. Hope that helps and makes sense, thank you for reading x