
Well, this was a new cake for me to try. I met with a couple about their wedding in August that had their heart set on this cake, I could not deny them of it! (Obviously stating that this is an untried recipe!) I am pleased to say that it was a great first attempt, with my Chief Cake Tester (My Husband, and trust me he is brutal sometimes!!!!) saying that this cake was a winner!
This wedding cake will receive two blog posts, this one where I will share my experience and the recipe used and the second one will be the final cake in all its glory!
Well where to begin!
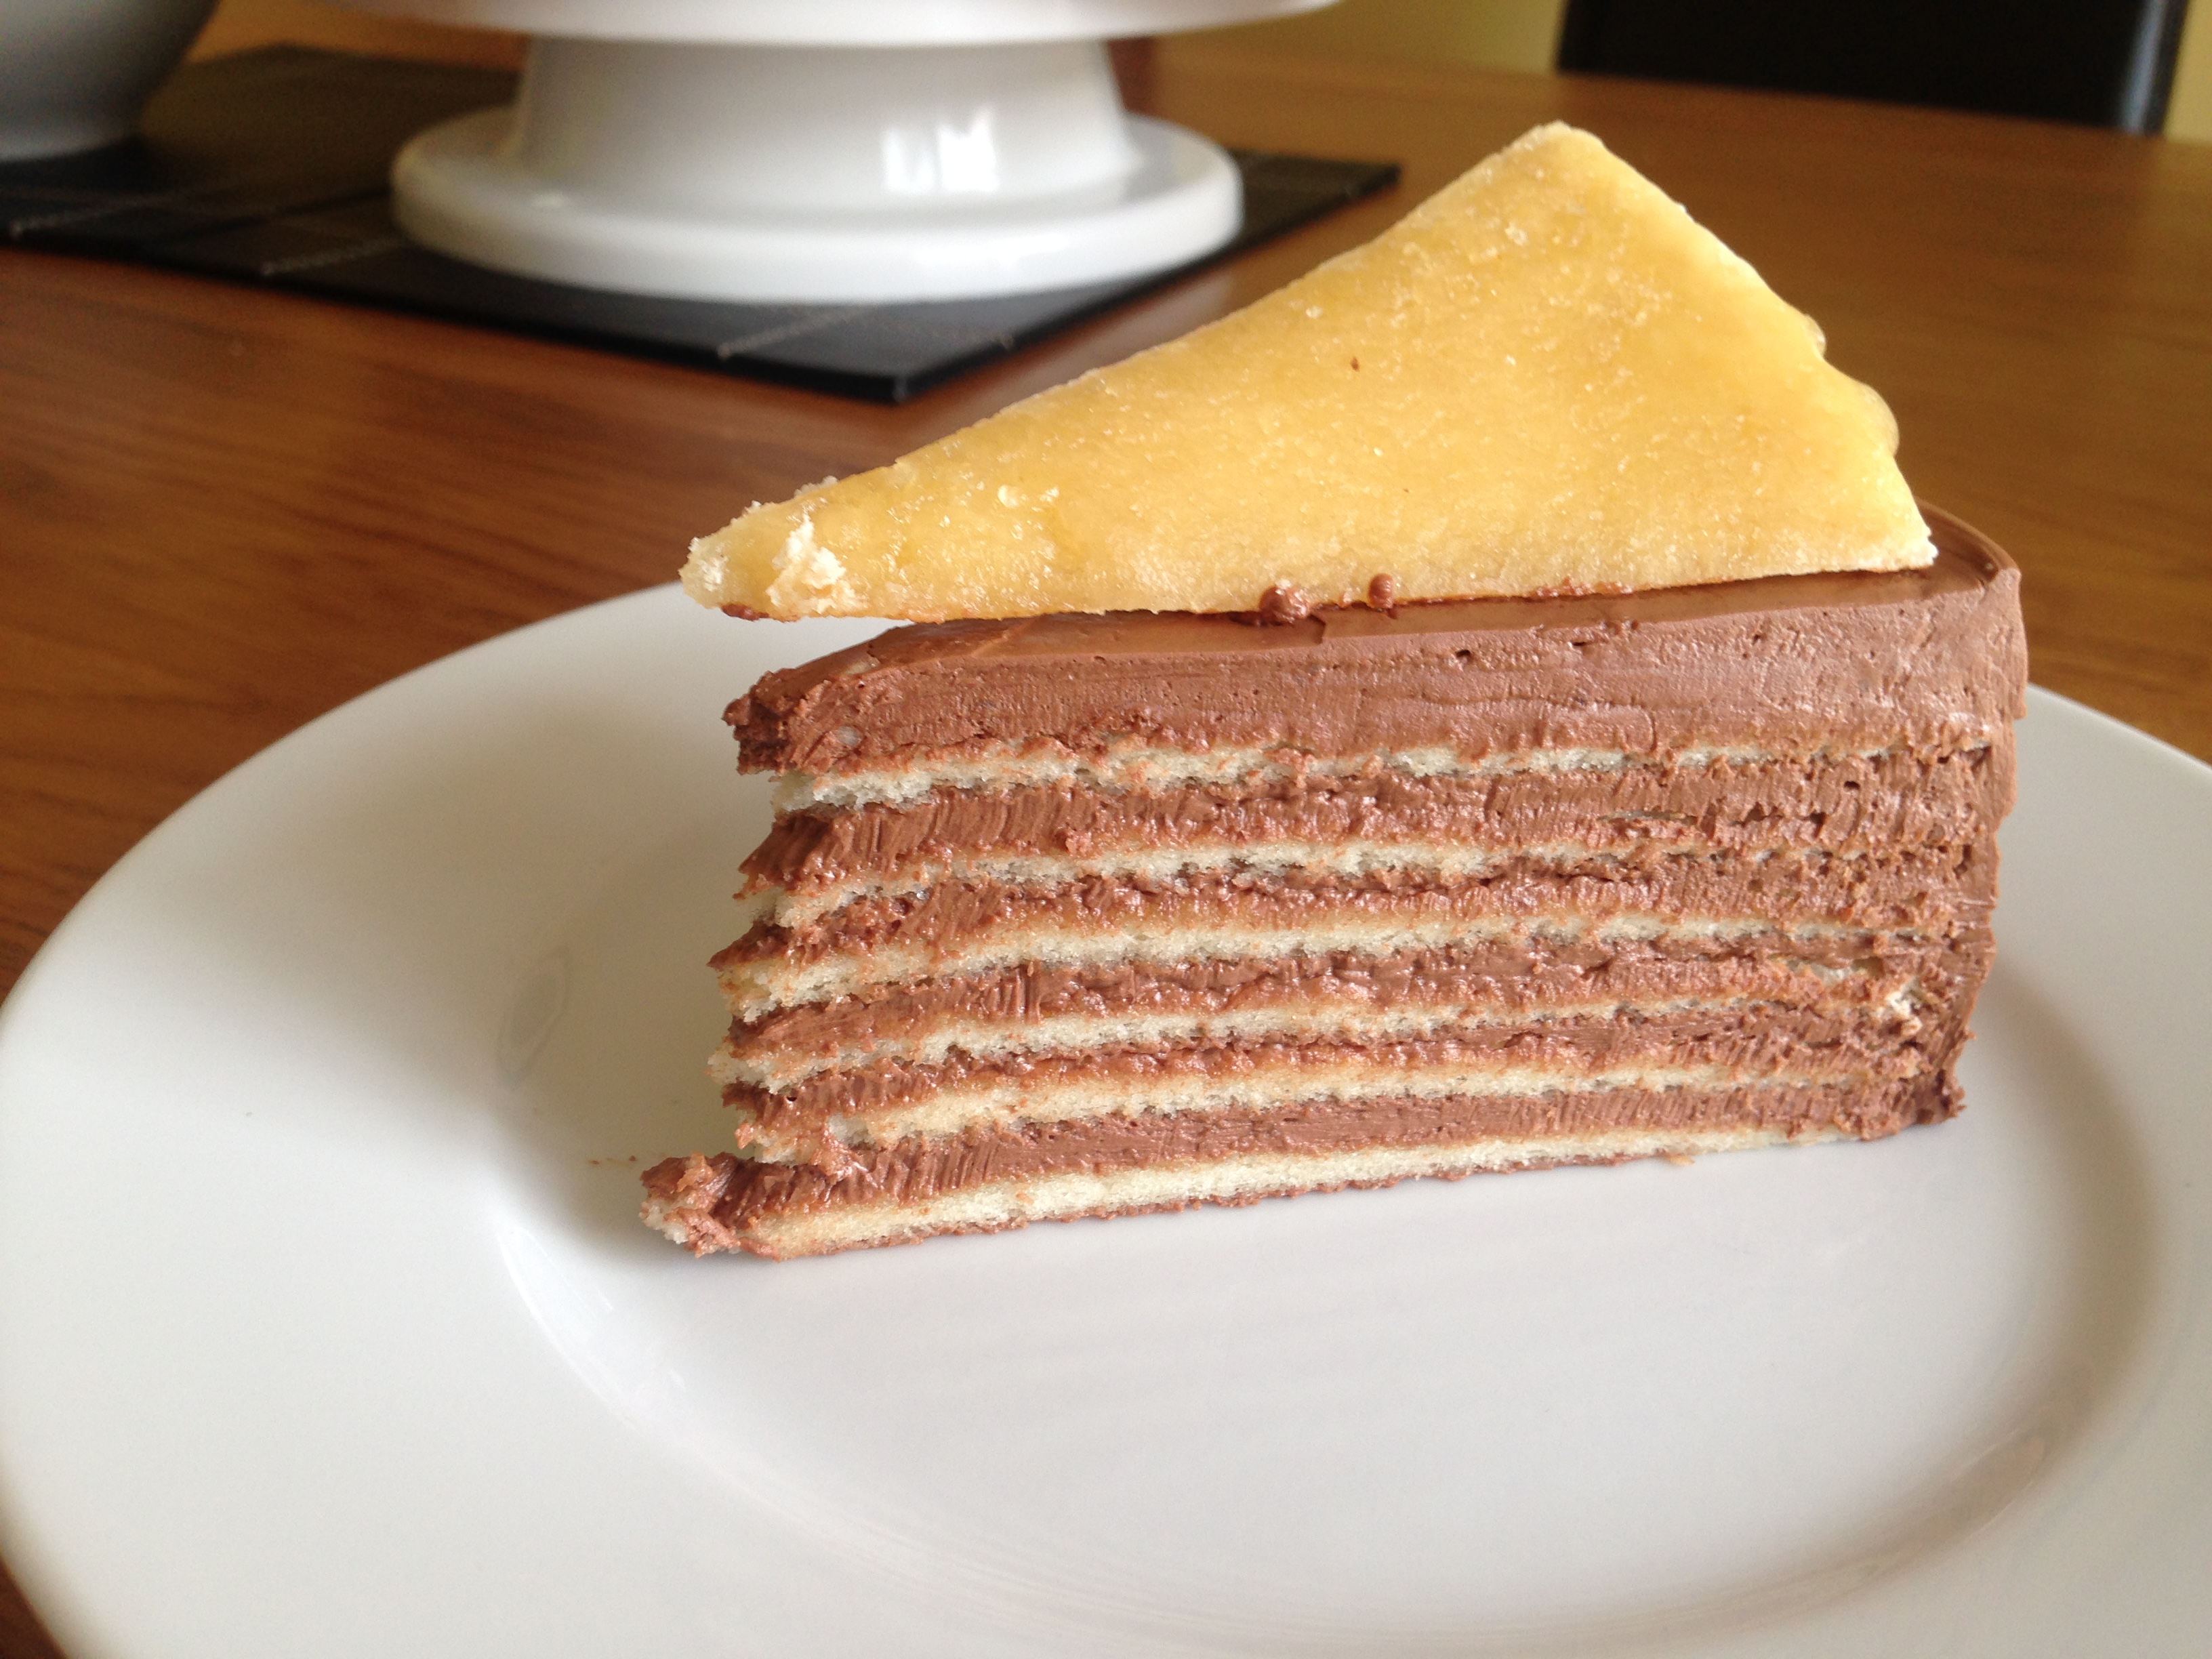
When I was doing my research on the ‘Dodos Torte’ I learned that a Dobos Torte is a Hungarian Sponge Cake, layered in a Chocolate Buttercream and Topped with a Golden Caramel. When I discussed it with friends the first thing they would say was ‘That was one of the cakes they did on The Great British Bake Off’, Yes it was and this is what we relate this cake too. I love The Great British Bake Off, it gives myself an insight into old much loved, glorious cakes and I must be honest, I learn something new every year I watch it!
Now when I was looking for a recipe, I found some lovely blogs in America and the Joe Pastry Blog really stood out to me. The measurements were in pounds, cups and ounces. So I will put them into grams. There are some great tips on this recipe and I just feel more people should know them! So thank you for sharing Joe!
Set your Oven to 220 Degrees Celsius
Cake recipe
7 eggs, Separated
3 egg yolks
454 g Icing Sugar, sifted
113 g Plain Flour, Sifted
1 Tablespoon Lemon Juice
1/8 teaspoon Salt
Chocolate Buttercream
298g Semisweet or bittersweet Chocolate
298g Unsalted Butter
1 1/2 tspn Vanilla Extract
4 Egg Yolks
3 Tbpn Icing Sugar
Caramel Layer
149g Castor Sugar
5 Tbspn Water
16 – 20 whole hazelnuts (toasted)
The next time I make this recipe (which will be for the wedding in a couple of weeks), I will be melting the Chocolate for the Buttercream first, as this needs to be cooled (not set), and the great thing about this cake is it cools down so quickly that you can stack it almost instantly! So go on and melt the Chocolate first.
The Cake
Now this is the first Nifty Idea and I would never have thought to use this, but the cake is baked on pieces of tin foil. You can do it on parchment paper but the problem there is the corners roll back on itself, but the tin foil stays perfectly straight! If you grease it correctly it easily comes away from the cake.
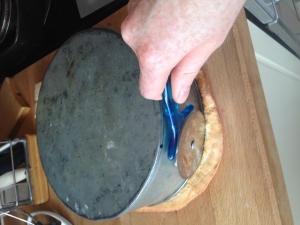
So take 7 square pieces of tin foil making sure you can fit an 8” round circle in the centre and giving it a bit extra on the side. I use the board I will stack the cake onto to draw the circle in the centre of the tin foil.
Rub/brush butter within the circle and going over the edge by about 5cm then sprinkle icing sugar on top using a sieve, making sure all the butter has a light sprinkling over it.
Shake off any excess back into you icing sugar tub/bag. Now you should have 7 pieces of greased tin foil that have a light dusting of icing sugar and you can lay those on top of each other to give your self more space (did I mention you need a bit of space for this cake!)
If you are using a machine use the paddle(I have a kitchen aid, so I use the flat paddle), add your egg yolks in the mixing bowl and put your mixer on high until they are pale in colour. Reduce your speed and add your sifted Icing Sugar a spoonful at a time. Once it is l added put your mixer on high and beat for 5 minutes. You will see the mixture is lovely and thick and if you lift the paddle it will look like ribbons when it falls.
Turn your mixer down and add the flour a spoon at a time. Once that is all in, turn the mixer up and beat for 5 minutes. Stir in the Lemon Juice.
I have a separate hand held mixer which I use for the Egg Whites, add the salt to the egg white and whip till Stiff Peak. Add a few of the stiff Egg Whites into your Egg Yolk mixture to loosen it up and then fold the rest of the Eggs White in.
Lay your Tin Foil layers out and start spooning the mixture into the Centre. Once all the layers have equal measurements of mixture on them start spreading it out to your lines till you end up with lovely circles on all 7 pieces.
I put my prepared tin foil onto a flat tray, you can put two layers in at a time and bake them for 5 minutes or until they are golden brown. If you are using the same trays for all the layers, make sure you work quickly as the raw mixture becomes fluid pretty quickly cause of the heat, so you don’t want too much movement before it goes into the oven.
As you pull them out have a wire rack ready to turn them out on to. Pop the next layers in, then go back to the baked layers and start pulling away the tin foil (if the greasing is correct this should come away easily), then move it over to a board lay your 8” board onto and trim away the edges to give you a perfect circle (although I have just seen while laying out my images that I used my tin, but I would use the board next time). I then played each layer between greaseproof on top of each other to prevent sticking. Continue this process (Cause it is a bit of a precess!!) until all the layers are baked, cooled, trimmed and stacked. Which should take you all of 20 minutes if you are doing two layers at a time 
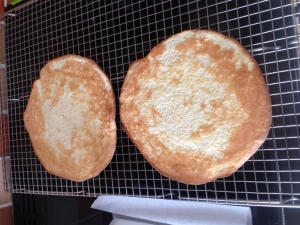
You should now have layers perfectly stacked between greaseproof layers. Its a very satisfying sight, trust me!
Chocolate Butter cream
Now focusing on the buttercream, (you will be happy that you have melted that chocolate as it should be pretty cool).
In your mixer with your paddle cream the butter. Once that is creamed add the Egg yolks and Vanilla. Next add the sugar and the cooled chocolate and mix thoroughly.
Now its time to put all your work together.
Take your board (the one you were making your circles with) and lay that down, put a thin layer of the buttercream and lay your first sponge layer, put a layer of buttercream on top of the first layer of sponge, keep going until you have done 6 layers. Save the 7th layer for your caramel.
Once you have sandwiches all you layers except one, use the last of the chocolate buttercream on the outside of the Torte.
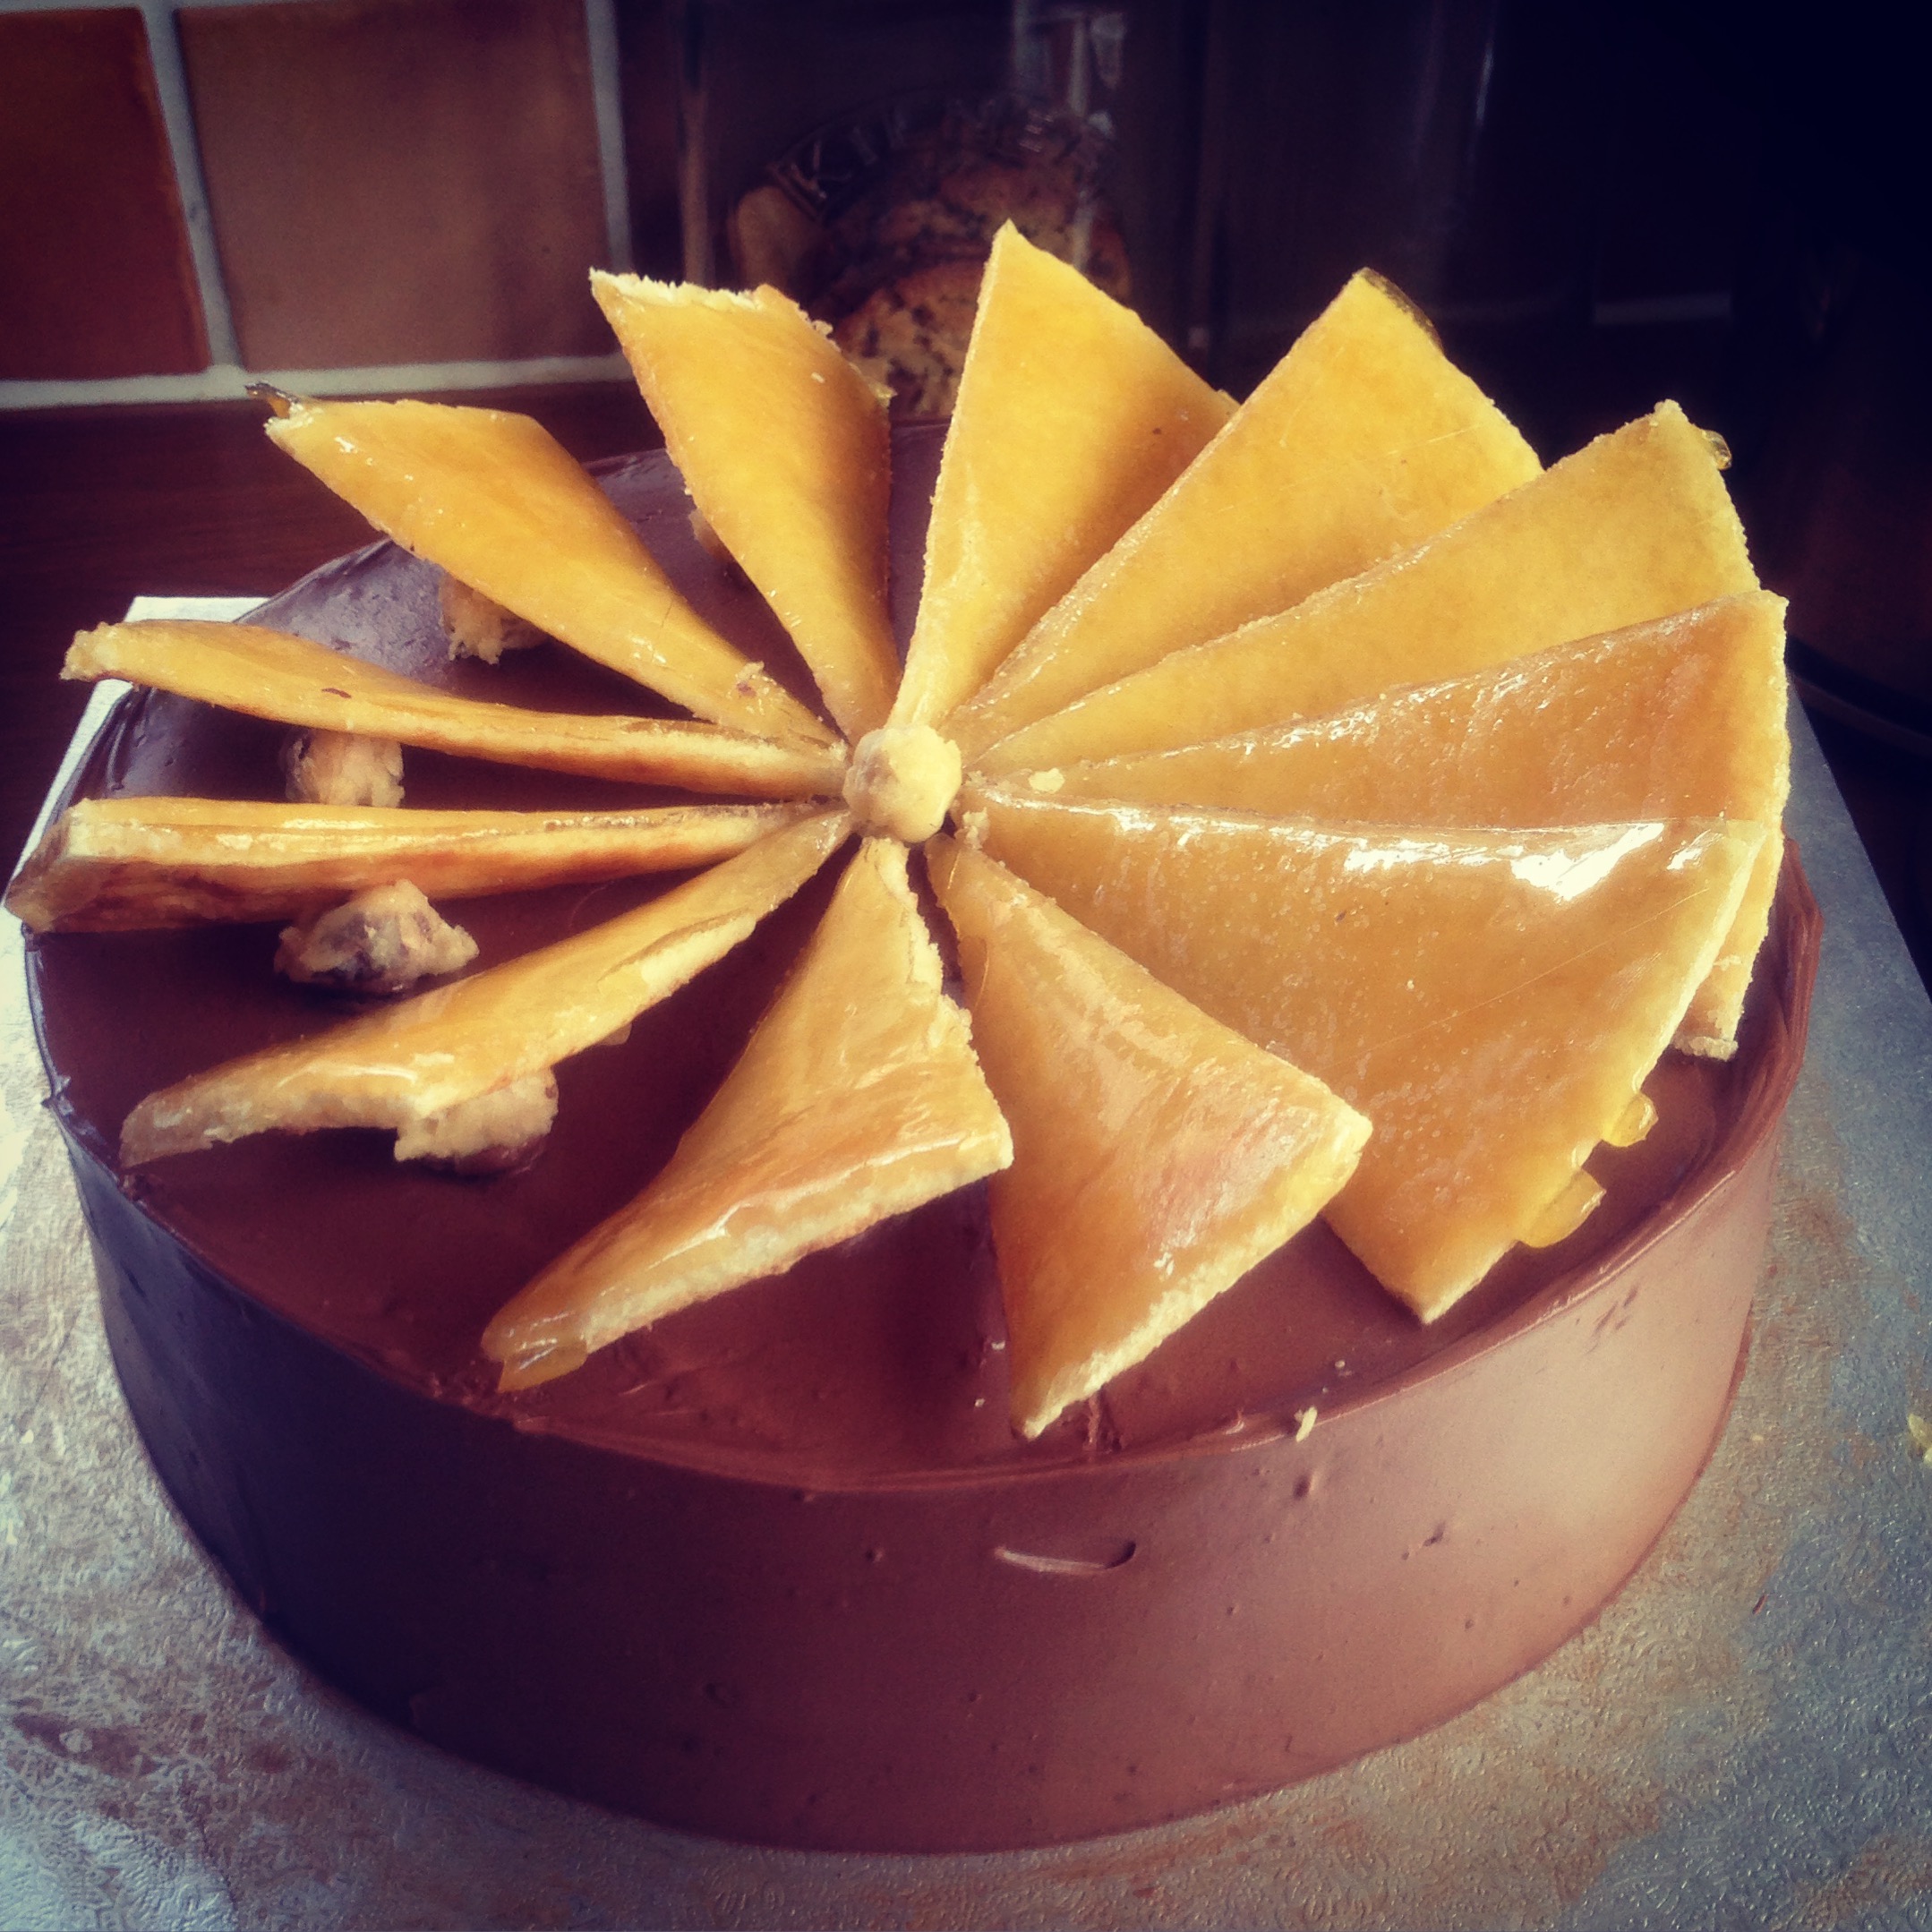
Put your Torte aside and start looking at your caramel, place your last layer of sponge on parchment. Place the sugar and water in a pan and bring to the boil. I have a sugar thermometer and let the sugar go to hard crack. Lovely Caramel colour. You need to work quickly here, pour it over the sponge and take a spoon and make sure the caramel reaches the edges. Any caramel that has gone over you can trim away once it has gone hard. Once it has semi cooled take a sharp knife and cut it into 8 wedges. Any left over caramel I quickly covered the toasted hazel nut in the sugar.

To complete your design arrange the caramel wedges with a hazelnut underneath each wedge, creating like a fan blade effect. Store in the refrigerator!

Leave A Comment